Basculer en HTTPS
Comme vous avez pu le remarquer, il y a en haut à gauche dans votre navigateur un petit message vous indiquant que votre connection n'est pas sécurisée. En effet, pour le moment toutes les informations circulent en clair, ce qui veut dire qu'en théorie, tout le monde peut voir ce qui se passe. Ce qui n'est pas franchement génial.
La solution, passé en https afin de rendre illisible l'information afin que personne ne puisse la lire.
Générer une paire de clés publiques/privées
Commençons par générer une paire de clés RSA de 2 048 bits. Une clé plus petite, telle que 1 024 bits, n'est pas suffisamment résistante aux attaques par force brute. Une clé plus grande, telle que 4 096 bits, est exagérée. Au fil du temps, la taille des clés augmente à mesure que le traitement informatique devient moins cher. 2 048 bits est actuellement la taille idéale.
Source: Enabling HTTPS on Your Servers
La commande pour générer la paire de clés RSA est la suivante :
sudo openssl genrsa -out www.example.com.key 2048
Générer une demande de signature de certificat
Dans cette étape, nous intégrons notre clé publique et des informations sur notre organisation et notre site Web dans une demande de signature de certificat ou CSR. La commande openssl nous demande de manière interactive les métadonnées requises.
sudo openssl req -new -sha256 -key www.example.com.key -out www.example.com.csr
Puis, nous vérifions notre fichier avec :
sudo openssl req -text -in www.example.com.csr -noout
La sortie doit ressembler à cela :
Certificate Request:
    Data:
        Version: 1 (0x0)
        Subject: C = FR, ST = FR, L = FR, O = FR, OU = FR, CN = FR, emailAddress = FR
        Subject Public Key Info:
            Public Key Algorithm: rsaEncryption
                RSA Public-Key: (2048 bit)
                Modulus:
                    00:b0:81:14:f7:f4:8a:2a:21:7d:d0:01:64:d4:11:
                    3e:08:f8:82:a0:53:7c:c7:76:f7:e5:aa:31:7c:d1:
                    54:00:63:90:d3:9a:da:c9:35:e2:48:c5:4f:d6:df:
                    6a:f1:61:8a:c5:6f:fb:c6:34:a7:3e:81:6d:3a:63:
                    8f:02:e8:09:24:3e:a0:f5:58:53:97:d6:ff:41:7b:
                    07:5b:33:69:ce:fc:9c:d8:ef:21:6f:86:06:11:99:
                    25:d6:35:1e:2a:f5:86:a8:a7:a5:8f:80:33:50:f4:
                    37:4e:8c:c5:06:4a:8c:78:fc:8e:2e:ad:1e:b7:a4:
                    70:e0:f6:95:d4:90:4a:85:f9:1a:99:71:0b:a8:39:
                    e0:f9:88:93:fe:71:f8:cc:b3:7c:bb:33:11:c8:76:
                    ca:15:ed:92:68:41:98:1b:2e:49:19:08:84:a6:67:
                    5a:df:23:6c:23:14:7f:2e:7b:d3:f5:99:e9:da:36:
                    c2:99:af:09:06:4b:44:71:76:30:66:35:a0:c6:1d:
                    a5:34:5f:d2:37:4d:48:e8:b5:c7:b1:e2:62:c6:80:
                    74:4e:e5:f1:13:ec:c0:d5:e2:79:10:b4:2f:68:34:
                    42:4c:fb:1f:f5:6f:30:4b:9b:9d:f4:a9:9f:4c:dc:
                    98:28:c4:f0:b4:92:05:65:ef:5d:57:33:e3:d4:e1:
                    ac:2d
 ...
Et enfin, nous générons le certificat auto-signé valable pendant 365 jours :
sudo openssl x509 -req -days 365 -in www.example.com.csr -signkey www.example.com.key -out www.example.com.crt
Maintenant, que nous avons généré notre certificat, nous pouvons le mettre en lieu sûr.
sudo cp www.example.com.crt /etc/ssl/www_example/www.example.com.crt
sudo cp www.example.com.key /etc/ssl/www_example/www.example.com.key
Vous pouvez noter les chemins, car nous devrons les renseigner un peu plus tard dans le fichier de configuration d'Apache.
Activer HTTPS sur notre serveur
Nous allons commencer par activer le module ssl dans Apache :
sudo a2enmod ssl
Puis modifier le fichier /etc/apache2/sites-available/nextcloud.conf et rajouter la ligne suivante :
Redirect permanent / https://votre-ip-ou-nom-de-domaine/
Redirect permanent va permettre de rediriger le flux http vers https, ainsi si un utilisateur rentre l'adresse du serveur sans le "https"celui-ci sera redirigé dessus.
La ligne ci-dessous nous intéressant plus, nous pouvons la commenter.
DocumentRoot /var/www/nextcloud
Votre fichier doit maintenant ressembler à ceci :
Alias /nextcloud "/var/www/nextcloud/"

<Directory /var/www/nextcloud/>
  Require all granted
  AllowOverride All
  Options FollowSymLinks MultiViews

  <IfModule mod_dav.c>
    Dav off
  </IfModule>

</Directory>

<VirtualHost *:80>
    ServerName www.domaine.com

    Redirect permanent / https://votre-ip-ou-nom-de-domaine/

    ServerAdmin admin@domaine.com

    ErrorLog ${APACHE_LOG_DIR}/error.log
    CustomLog ${APACHE_LOG_DIR}/access.log combined

</VirtualHost>

# vim: syntax=Apache ts=4 sw=4 sts=4 sr noet
Bien, nous avons fait une redirection, mais elle ne pointe nulle part, ce n'est pas très pratique :).
Pour une configuration https Apache nous donne un exemple dans /etc/apache2/site-available/default-ssl.conf, nous n'allons pas l'utiliser directement, mais nous allons nous en inspirer.
Vous pouvez l'ouvrir avec :
nano /etc/apache2/site-available/default-ssl.conf
Vous devriez avoir ceci :
<IfModule mod_ssl.c>
    <VirtualHost _default_:443>
        ServerAdmin Webmaster@localhost

        DocumentRoot /var/www/html

        # Available loglevels: trace8, ..., trace1, debug, info, notice, warn,
        # error, crit, alert, emerg.
        # It is also possible to configure the loglevel for particular
        # modules, e.g.
        #LogLevel info ssl:warn

        ErrorLog ${APACHE_LOG_DIR}/error.log
        CustomLog ${APACHE_LOG_DIR}/access.log combined

        # For most configuration files from conf-available/, which are
        # enabled or disabled at a global level, it is possible to
        # include a line for only one particular virtual host. For example the
        # following line enables the CGI configuration for this host only
        # after it has been globally disabled with "a2disconf".
        #Include conf-available/serve-cgi-bin.conf

        #   SSL Engine Switch:
        #   Enable/Disable SSL for this virtual host.
        SSLEngine on

        #   A self-signed (snakeoil) certificate can be created by installing
        #   the ssl-cert package. See
        #   /usr/share/doc/Apache2/README.Debian.gz for more info.
        #   If both key and certificate are stored in the same file, only the
        #   SSLCertificateFile directive is needed.
        SSLCertificateFile    /etc/ssl/certs/ssl-cert-snakeoil.pem
        SSLCertificateKeyFile /etc/ssl/private/ssl-cert-snakeoil.key

        #   Server Certificate Chain:
        #   Point SSLCertificateChainFile at a file containing the
        #   concatenation of PEM encoded CA certificates which form the
        #   certificate chain for the server certificate. Alternatively
        #   the referenced file can be the same as SSLCertificateFile
        #   when the CA certificates are directly appended to the server
        #   certificate for convinience.
        #SSLCertificateChainFile /etc/Apache2/ssl.crt/server-ca.crt

        #   Certificate Authority (CA):
        #   Set the CA certificate verification path where to find CA
        #   certificates for client authentication or alternatively one
        #   huge file containing all of them (file must be PEM encoded)
        #   Note: Inside SSLCACertificatePath you need hash symlinks
        #         to point to the certificate files. Use the provided
        #         Makefile to update the hash symlinks after changes.
        #SSLCACertificatePath /etc/ssl/certs/
        #SSLCACertificateFile /etc/Apache2/ssl.crt/ca-bundle.crt

        #   Certificate Revocation Lists (CRL):
        #   Set the CA revocation path where to find CA CRLs for client
        #   authentication or alternatively one huge file containing all
        #   of them (file must be PEM encoded)
        #   Note: Inside SSLCARevocationPath you need hash symlinks
        #         to point to the certificate files. Use the provided
        #         Makefile to update the hash symlinks after changes.
        #SSLCARevocationPath /etc/Apache2/ssl.crl/
        #SSLCARevocationFile /etc/Apache2/ssl.crl/ca-bundle.crl

        #   Client Authentication (Type):
        #   Client certificate verification type and depth.  Types are
        #   none, optional, require and optional_no_ca.  Depth is a
        #   number which specifies how deeply to verify the certificate
        #   issuer chain before deciding the certificate is not valid.
        #SSLVerifyClient require
        #SSLVerifyDepth  10

        #   SSL Engine Options:
        #   Set various options for the SSL engine.
        #   o FakeBasicAuth:
        #     Translate the client X.509 into a Basic Authorisation.  This means that
        #     the standard Auth/DBMAuth methods can be used for access control.  The
        #     user name is the `one line' version of the client's X.509 certificate.
        #     Note that no password is obtained from the user. Every entry in the user
        #     file needs this password: `xxj31ZMTZzkVA'.
        #   o ExportCertData:
        #     This exports two additional environment variables: SSL_CLIENT_CERT and
        #     SSL_SERVER_CERT. These contain the PEM-encoded certificates of the
        #     server (always existing) and the client (only existing when client
        #     authentication is used). This can be used to import the certificates
        #     into CGI scripts.
        #   o StdEnvVars:
        #     This exports the standard SSL/TLS related `SSL_*' environment variables.
        #     Per default this exportation is switched off for performance reasons,
        #     because the extraction step is an expensive operation and is usually
        #     useless for serving static content. So one usually enables the
        #     exportation for CGI and SSI requests only.
        #   o OptRenegotiate:
        #     This enables optimized SSL connection renegotiation handling when SSL
        #     directives are used in per-directory context.
        #SSLOptions +FakeBasicAuth +ExportCertData +StrictRequire
        <FilesMatch "\.(cgi|shtml|phtml|php)$">
                SSLOptions +StdEnvVars
        </FilesMatch>
        <Directory /usr/lib/cgi-bin>
                SSLOptions +StdEnvVars
        </Directory>

        #   SSL Protocol Adjustments:
        #   The safe and default but still SSL/TLS standard compliant shutdown
        #   approach is that mod_ssl sends the close notify alert but doesn't wait for
        #   the close notify alert from client. When you need a different shutdown
        #   approach you can use one of the following variables:
        #   o ssl-unclean-shutdown:
        #     This forces an unclean shutdown when the connection is closed, i.e. no
        #     SSL close notify alert is send or allowed to received.  This violates
        #     the SSL/TLS standard but is needed for some brain-dead browsers. Use
        #     this when you receive I/O errors because of the standard approach where
        #     mod_ssl sends the close notify alert.
        #   o ssl-accurate-shutdown:
        #     This forces an accurate shutdown when the connection is closed, i.e. a
        #     SSL close notify alert is send and mod_ssl waits for the close notify
        #     alert of the client. This is 100% SSL/TLS standard compliant, but in
        #     practice often causes hanging connections with brain-dead browsers. Use
        #     this only for browsers where you know that their SSL implementation
        #     works correctly.
        #   Notice: Most problems of broken clients are also related to the HTTP
        #   keep-alive facility, so you usually additionally want to disable
        #   keep-alive for those clients, too. Use variable "nokeepalive" for this.
        #   Similarly, one has to force some clients to use HTTP/1.0 to workaround
        #   their broken HTTP/1.1 implementation. Use variables "downgrade-1.0" and
        #   "force-response-1.0" for this.
        # BrowserMatch "MSIE [2-6]" \
        #        nokeepalive ssl-unclean-shutdown \
        #        downgrade-1.0 force-response-1.0

    </VirtualHost>
</IfModule>

# vim: syntax=Apache ts=4 sw=4 sts=4 sr noe
<IfModule mod_ssl.c>
    <VirtualHost _default_:443>
        ...
        SSLEngine on
        ...
    </VirtualHost>
</IfModule>
Nous retrouvons un VirtualHost mais qui écoute sur le port 443 (https) et la balise <IfModule mod_ssl.c> qui permet d'initialiser le module ssl. Nous retrouvons aussi la directive SSLEngine on pour activer le support de ssl.
Je vous laisse ajouter tout cela à votre nextcloud.conf en n'oubliant pas de rajouter votre DocumentRoot, ServerName et ServerAdmin.
Bien que votre serveur fonctionne en https, il est loin d'être entièrement sécurisé, en effet, il reste compatible avec de vieux algorithmes de chiffrement qui ne sont plus utilisé aujourd'hui, leur niveau de sécurité étant trop faible. Pour remédier à cela je vous invite à visiter le site ssl-config.mozilla, pour vous aider à renforcer la sécurité de votre serveur.
Dans le cas d'une configuration moderne quelques lignes nous sont pour le moment inconnues.
Protocols h2 http/1.1
Cette ligne permet simplement de spécifier à Apache d'utiliser HTTP/2 et s'il n'est pas disponible HTTP/1.1. Par défaut HTTP/2 n'est pas activé, nous allons donc devoir l'activer un peu plus tard.
Header always set Strict-Transport-Security "max-age=63072000"
Utilisez Strict Transport Security pour indiquer aux clients qu'ils doivent toujours se connecter à votre serveur via HTTPS, même lorsqu'ils suivent une référence http://. Cela permet de déjouer des attaques telles que le SSL Stripping et d'éviter le coût de l'aller-retour de la redirection 301.
# modern configuration
SSLProtocol             all -SSLv3 -TLSv1 -TLSv1.1 -TLSv1.2
SSLHonorCipherOrder     off
SSLSessionTickets       off
Nous autorisons uniquement les protocoles les plus forts en excluant SSLv3 TLSv1 TLSv1.1 TLSv1.2.
SSLCertificateFile    /etc/ssl/certs/ssl-cert-snakeoil.pem
SSLCertificateKeyFile /etc/ssl/private/ssl-cert-snakeoil.key
Je vous laisse ici modifier le chemin de vos clés que nous avons générées précédemment. Si je reprends l'exemple au-dessus de cela, donne :
SSLCertificateFile    /etc/ssl/www_example/www.example.com.crt
SSLCertificateKeyFile /etc/ssl/www_example/www.example.com.key
Votre fichier nextcoud.conf doit maintenant ressembler à cela :
Alias /nextcloud "/var/www/nextcloud/"

<Directory /var/www/nextcloud/>
  Require all granted
  AllowOverride All
  Options FollowSymLinks MultiViews

  <IfModule mod_dav.c>
    Dav off
  </IfModule>

</Directory>

<VirtualHost *:80>

    ServerName www.domaine.com

    Redirect permanent / https://votre-ip-ou-nom-de-domaine/

    ServerAdmin admin@domaine.com
    #DocumentRoot /var/www/nextcloud

    ErrorLog ${APACHE_LOG_DIR}/error.log
    CustomLog ${APACHE_LOG_DIR}/access.log combined

</VirtualHost>

<IfModule mod_ssl.c>
    <VirtualHost _default_:443>

        SSLEngine on

        Protocols h2 http/1.1

        Header always set Strict-Transport-Security "max-age=63072000"

        ServerName www.domaine.com
        ServerAdmin admin@domaine.com

        DocumentRoot "/var/www/nextcloud/"

        ErrorLog ${APACHE_LOG_DIR}/error.log
        CustomLog ${APACHE_LOG_DIR}/access.log combined

        SSLCertificateFile    /etc/ssl/www_example/www.example.com.crt
        SSLCertificateKeyFile /etc/ssl/www_example/www.example.com.key

    </VirtualHost>
</IfModule>

# modern configuration
SSLProtocol             all -SSLv3 -TLSv1 -TLSv1.1 -TLSv1.2
SSLHonorCipherOrder     off
SSLSessionTickets       off

# vim: syntax=Apache ts=4 sw=4 sts=4 sr noet
Rechargez la configuration avec :
sudo systemctl restart apache2
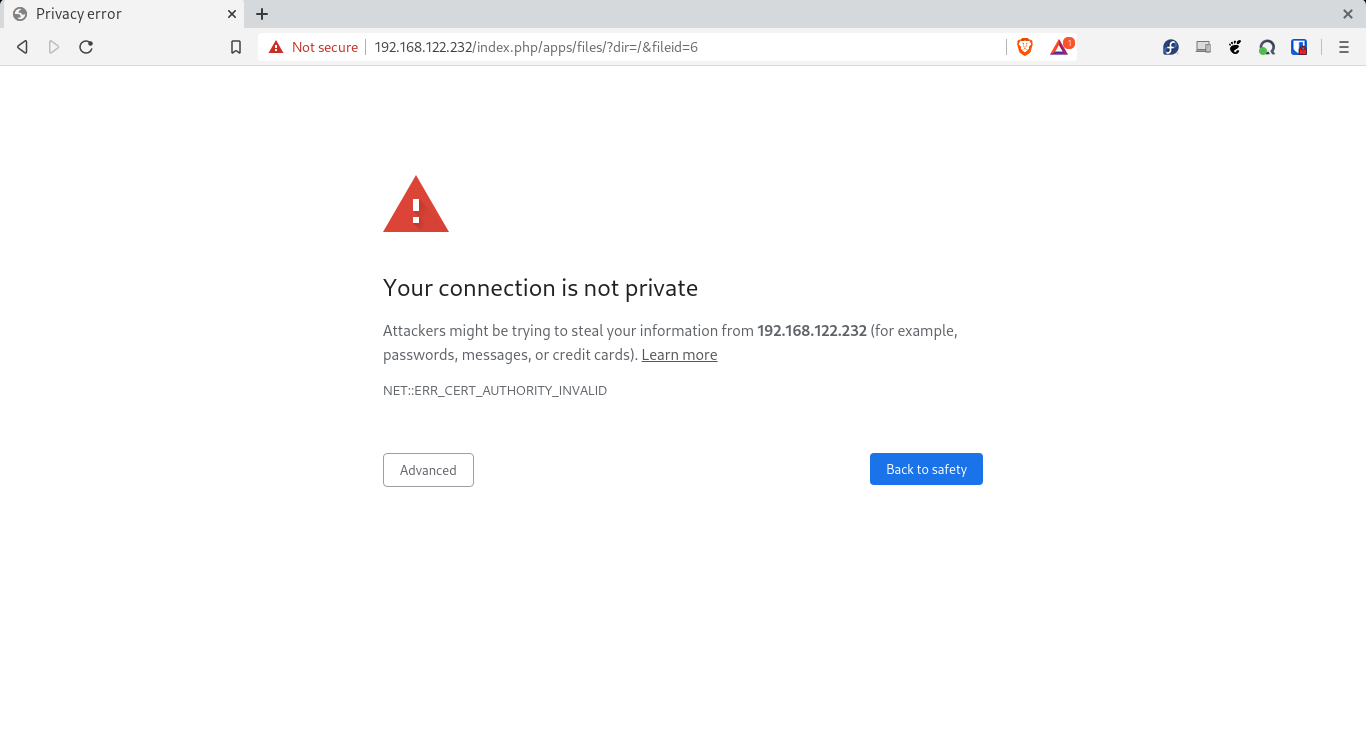
Oups !!!
Non, c'est normal ! Et oui, nous sommes avec un certificat auto-signé c'est donc à nous de le certifié. Nous avons juste besoin d'aller dans "avancer" puis accepter le certificat. Et voilà, nous sommes sur Nextcloud en https.